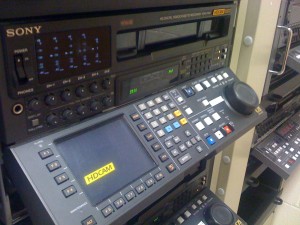
A few years ago I took a freelance night shift as an assistant editor at production company in North Hollywood. It was a short gig, but overall it was a good learning experience. I utilized about 4 Avids at a time, outputting to DVCAM, BetaSP and Digitbeta. Every once in a while I would freak out because I had a small question about their specific configuration and it was 12 AM. Who wants to get a call from the new guy at 12 AM? Nobody. Going from office to office over the past couple years, it takes a while to get used to everyone’s specific setup. One of the places I work at the most has a great machine room full of great HD equipment. It took me a while to remember tasks like resetting timecode on the Sony HDCAM deck though.
Here is a walk through on resetting the timecode to match your HDCAM tape. (Forgive the iPhone 3G camera resolution)
Before we get started remember to turn off the remote button. Simple, I know.
Be sure to take the tape out of the VTR and know what frame rate the tape is set at. If you are playing 59.94 footage in the 23.98 VTR, it will look weird. (If you are sure your timecode rate and it isn’t working still, check your AJA or in the Avid case your video out setting is set to reference, not internal and that the reference on your router is set to 59.94 and not 23.98)
Check the highlighted timecode on your system. Make sure it isn’t what you need already.
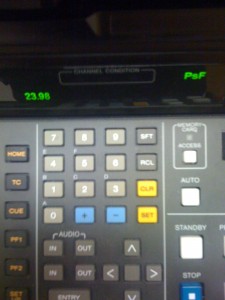
Look at the menu. Our staff had made a shortcut so that you just hit the “PF1” button to get to the right page. We will have to look at creating a shortcut another time, but in case your shortcut is not magically the same, keep on reading below.
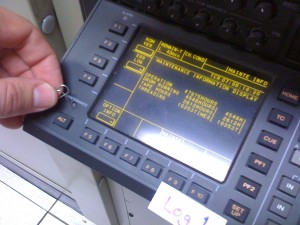
You’ll have to hit in the maintenance button with a small object.
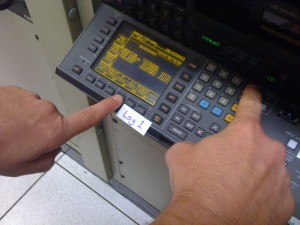
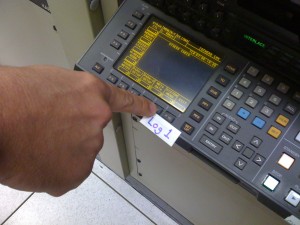
Arrive at the system menu by hitting F9 twice.
You should see the system frequency as the top option. Hit the F2 button to scroll through the different frequencies. Stop when you find the timecode you want. In my case 59.94.
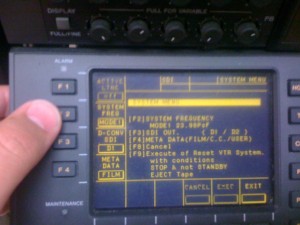
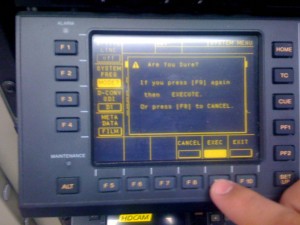
Hit F9 to execute the action and make the deck reset. You will have to hit execute twice for it to do this.
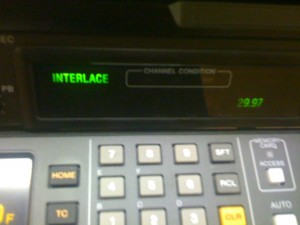
The lights shut off, the deck makes some sounds and then it pops back up with the desired frame rate lit up in green. Take note that because I chose 59.94 the deck shows me that I am playing it back at 29.97.

If you have any questions on the procedure, leave a comment and I will do my best to answer it as soon as possible. Any other recommendations or additional steps are appreciated!
